How do I create a Hush Secure Form?

Step 1. Accessing Hush Secure Forms
First things first, sign in to your Hushmail account in webmail and find the menu icon in the top right corner.
Choose Go to Hush Secure Forms from the drop-down menu options, as shown here:

Note: You can also log in to your account (using your Hushmail email address and passphrase) on this Hush Secure Forms login page.
Either one of these login options will take you to the page where you’ll create and manage your Hush Secure Forms.
Step 2. Choosing your template
To create a customized contact form from a template, start by clicking on the blue Create My First Form button towards the bottom of the page, as shown here:

Scroll past the first option to create an empty form and, in the Secure Contact Form option, click the blue Preview or use button, as shown here:

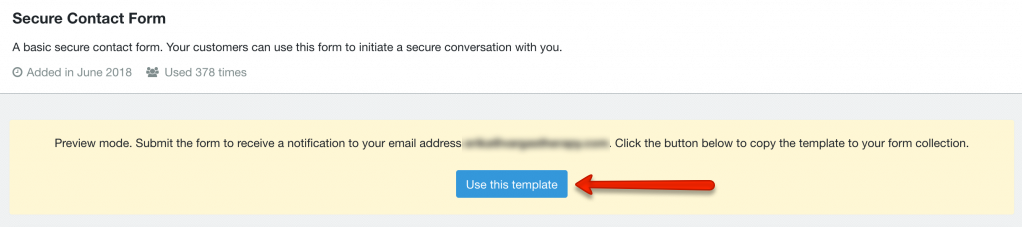
In the yellow section at the top of this page, click the blue Use this template button, as shown here:
Now you’re ready to start making your edits!
Step 3. Customizing your form
Read through the template carefully taking note of what's already there that you'd like to tweak, what's there that you don’t need, as well as any fields that are currently missing from the template but that you’d like to add.
Editing existing fields
To edit an existing field, simply click on that line of the form to open a small popup window for that field's information.
Within the popup window, you are able to rename the field, add any additional notes about what you'd like your clients to provide here, and decide whether the field should be required or not.
Once you've adjusted the field to your preferences, click the blue Apply button to save your changes to the field, as shown here:

Removing fields you don't need
To delete an existing field, simply click on that line of the form and click the Delete link text on the bottom right corner of that field's popup window, as shown here:

Adding fields you do need
Now that you've adjusted the existing fields and removed any you didn't need from the starter template, you can include any additional fields you'd like.
As you look down the toolbar on the left, you’ll see there are numerous ways to collect information in your form:

Many of our clients choose to add a Preferred Date field to their Appointment Request form and would prefer that this be a drop-down calendar field, as shown here:

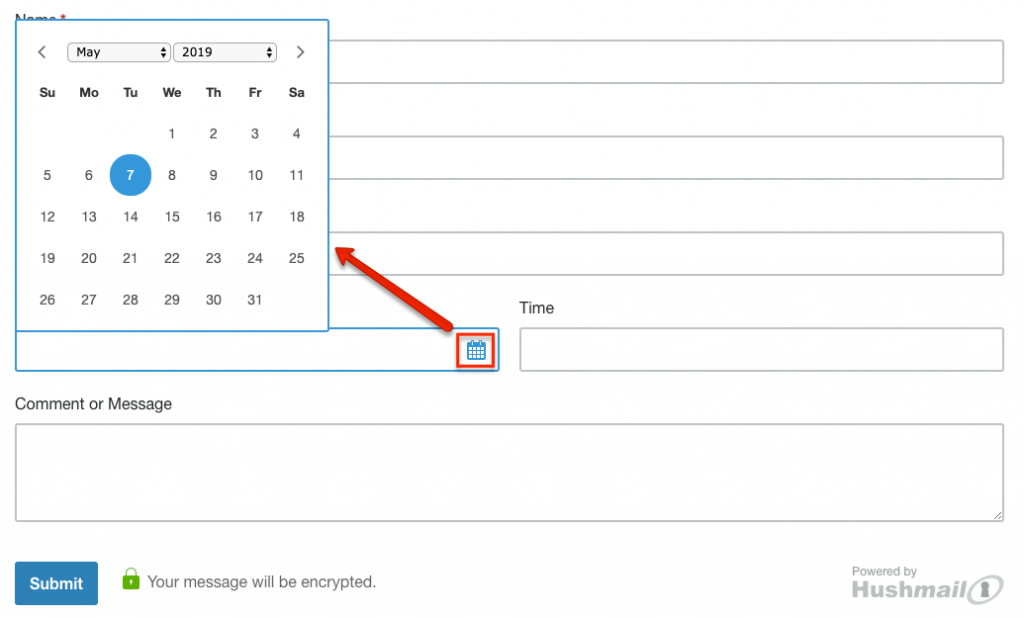
To do this, find the Date field from the list in the left toolbar, click and drag it to the place within your form where you'd like it to go, and let go of your cursor to drop it there:

Again, once the field has been added to your form, you can then click on it to edit its label, add any comments, or make it a required field.
Adjusting the layout
You can easily reorganize the layout of your form by clicking on a field and dragging it to a different location:

Fields can also be resized to hovering over the right edge and dragging its border back and forth:

Setting a Thank You page
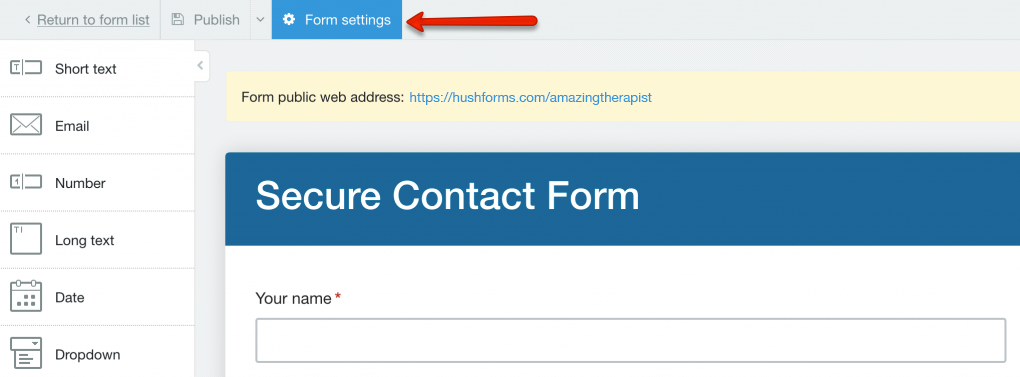
Once all of the fields have been updated, click the Form Settings link text at the top of the page, as shown here:
Add the full URL for the Thanks page on your website at the top of the popup window then, in the Automatic response tab, click the toggle button to blue to Enable this feature, as shown here:

Finally, click the blue Apply and publish changes button.
Note: If you have not yet created a Thank You page for your website and need help doing this, check out this article: How do I create a new web page?
You can also email our Support Team at support@brightervision.com to have us do this for you.
Next Steps
Now that you've created a Hush Secure Form using Hushmail's drag and drop form builder, you are ready to embed that form into your website.
If you need help doing this, you can follow the guidance in this article: How do I embed a Hush Secure Form into my website?